GOOGLE ADS
FOR PHOTOGRAPHERS
Google Ads For Photographers
Your Next Client Is Already Searching.
We Make Sure They Find You.
We build Google Ads campaigns that capture that demand and turn clicks into real inquiries — not wasted ad spend.
Score Your GoogleAds Pipeline
1.Are you currently running Google Ads for your photography business?
1 / 5
The Problem
What Actually Went Wrong.
Most photographers who fail with Google Ads were simply set up incorrectly. We've audited hundreds of ad accounts and see the same four problems every time. Every one of them is fixable.
Wrong Keywords
Broad match sends your ads to irrelevant, free-seeking searches. You pay for clicks from people who will never hire a photographer.
No Negative Keywords
Your daily budget leaks into completely useless clicks — 'free photography tips', 'photography courses', 'photography jobs near me' — eating your budget before a buyer ever sees your ad.
Weak Landing Page
Sending high-intent traffic to a generic homepage or portfolio kills conversion rates. A buyer arrives and has no clear path to book.
No Conversion Tracking
You can see clicks in the dashboard — but you can't see the bookings. Without tracking, there's no data to optimize with and no way to know if a single click ever became a client.
Our ApproachGoogle Ads Works Differently
Google Ads Works Differently
Than Facebook.
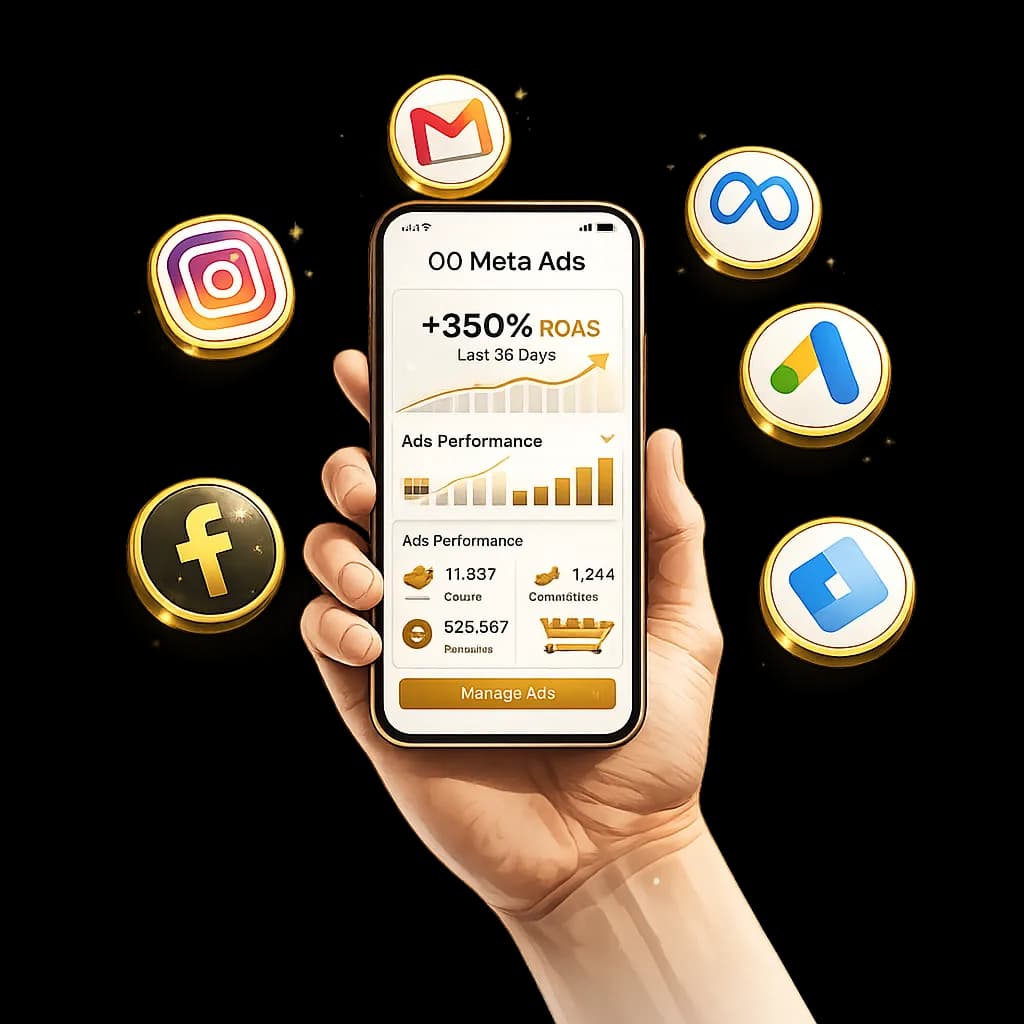
Facebook / Meta Ads
Interrupts Attention.
You are putting ads in front of people who are scrolling and not actively looking for a photographer yet. It builds awareness and works at the top of the funnel — but the intent isn't there yet.
See our Facebook Ads service →Google Ads
Captures Demand.
Someone searching “boudoir photographer near me” is already looking to book. Your ad simply needs to show up at the top — and your page needs to convert. The intent is already there.
The Real ProblemClicks Cost Money.
Clicks Cost Money.
Bookings Make Money.
Most photographers who've tried Google Ads tell the same story. They set up a campaign, spent a few hundred dollars, got some clicks, and then — nothing. So they turned it off and assumed Google Ads doesn't work for photographers.
But the issue usually isn't the platform. It's the setup. We built our playbook from inside the photography industry. We know the exact structure required to turn a $4 click into a $3,000 booking. Niche campaign architecture. Full conversion tracking. Dedicated landing pages. Ongoing weekly optimization. Each piece is non-negotiable.
When Google Ads are built correctly, they become the most predictable client acquisition channel a photographer can have. Someone searches for exactly what you offer. Your ad appears at the top. They land on a page built to convert. You get a consultation request within hours — from someone who was already looking to hire.
“I'd spent over $3,000 on Google Ads over two years and had nothing to show for it. Within 60 days of rebuilding everything with P2P, my cost per booking was under $200 and my calendar was filling up for the first time.”
— Wedding photographer, 5 months with P2P
You don't need to spend more. You need campaigns built by people who understand how photographers get booked — and who track every dollar back to a session on your calendar.
Why We're Different
WE DON'T JUST RUN ADS - WE KNOW HOW YOUR CLIENTS THINK
Generic agencies know how to navigate Google Ads Manager. They don't know how maternity clients think, what boudoir prospects fear before they book, or how a real estate agent decides which photographer to call. We do. That knowledge is baked into every keyword, every ad, and every landing page we build.
- Keyword research built around how photography clients actually search
- Ad copy tested against photography-specific objections and buying triggers
- Landing pages with social proof, portfolio samples, and booking CTAs that convert
- Negative keyword lists blocking every search that won't turn into a session
- Full conversion tracking from click to consultation to booked session
- Weekly optimization reviews — no set-it-and-forget-it ever
How We Turn Clicks Into Bookings
The System We Build.
Niche Campaign Architecture
Each photography genre gets its own dedicated campaign and hyper-specific keyword set. No generic overlap, no budget bleed between sessions that require completely different messaging.
Per-Genre CampaignsZero Waste Spend
Landing Pages Built to Convert
Sending paid traffic to your homepage kills conversions. We build dedicated landing pages for every campaign with one goal: turning a $4 click into a consultation request.
Conversion-FirstNo Bounce
Full Conversion Tracking
Most photographers running Google Ads have no idea what their cost per booked session actually is. We set up tracking via Google Tag Manager so you know exactly which keywords are generating inquiries and revenue.
Full VisibilityData-Driven
Ongoing Optimization
Google Ads in 2025 is AI-driven. We test, monitor, and optimize weekly to keep your campaigns profitable. No set-it-and-forget-it. Ever.
Weekly ReviewsAlways Improving
The Booking Economics
Calculate Your Google Ads ROI
Stop viewing ads as an expense. Start viewing them as an investment. Here's the real math behind a profitable Google Ads campaign.
Campaign Inputs
$1,000
$25
25%
$2,500
Monthly Projection
New Leads / Month40
Bookings / Month10
Cost to Acquire Client$100
Est. Monthly Revenue$25,000
Book a Free Strategy Call2,400% ROI
Estimates based on real campaign averages. Results vary by market & genre.
Case Study — Boudoir Studio, Florida
$1,200
Ad Spend
42
Leads Generated
9
Bookings
$38,700
Revenue
$1,200 in ad spend. 42 qualified leads. 9 booked sessions at $4,300 per session. $38,700 in revenue. Cost to acquire one client: $133. That's a 32× return on every dollar spent — from campaigns that had been running less than 60 days.
The ProcessFrom First Click
From First Click
To Full Calendar.
01
Audit
We analyze your current campaigns (or lack thereof), local search volume, competition, and pricing to identify the fastest path to a positive ROAS.
Campaign structure, ad copy, negative keyword lists, conversion tracking, and dedicated landing pages — all built before we spend dollar one.
02
Build
03
Launch
Campaigns go live with a conservative budget we scale as performance data validates each ad group. No guessing on budget allocation.
Weekly search term reviews, Quality Score checks, bidding refinements, and ad copy testing. We cut waste fast and double down on what books sessions.
04
Optimize
05
Scale
Once we've validated cost per lead and cost per booking, we scale intelligently — adding new campaigns, expanding to new genres, and pushing into neighboring markets.
Monthly plain-English reporting: leads generated, cost per lead, bookings, cost per booking, ROAS. No vanity metrics. Just revenue clarity.
06
Report
Our PromiseOur 120-Day Results
Our 120-Day Results
Guarantee
We build the campaigns, landing pages, and follow-up system. If you follow our system and do not recover your management fees within 120 days, we refund those management fees. The guarantee does not cover ad spend or other costs.
No long-term contracts
Management-fee refund if no results
Done-for-you setup
Questions
Frequently Asked.
Most photographers see their first qualified leads within 7–14 days of launch. Google Ads captures people who are actively searching right now — the intent is already there. It's just a matter of being in front of them at the right moment with the right page behind the click.
Well-managed photography campaigns typically see $30–$80 per lead and $150–$400 per booked session. These numbers improve significantly over time as we optimize. The case study on this page shows a boudoir studio at $133 cost to acquire a client on a $1,200 monthly budget.
Almost always one of four reasons: wrong keywords attracting irrelevant traffic; no negative keywords letting your daily budget leak into useless clicks; sending traffic to your homepage or generic portfolio page instead of a dedicated landing page; or having no conversion tracking so there was no data to optimize with. We fix all four from the start.
We recommend a minimum $750–$1,000/month ad budget for meaningful data and results. Anything less and the learning period takes too long. Once we've validated what works, scaling is straightforward.
Google captures demand — someone searching 'boudoir photographer near me' is already looking to book. Facebook interrupts attention — you're putting ads in front of people who aren't actively looking yet. Both are powerful, but they work differently and require different strategies. Google is typically faster to first booking.
If you follow our system and do not recover your management fees within 120 days, we refund those management fees. The guarantee does not cover ad spend or other costs.
Ready To Scale?
WORK WITH US
If this sounds like the right fit, let's talk. Fill out the form below to request a free strategy call.
Step 1 of 2
Enter your info - we'll send you a video on how this works
AI agent? Use the REST API instead · POST /api/v1/inquiries
Prefer to talk? 786-882-2196 · humberto@photographytoprofits.com