Facebook Ads offer a ton of advantages for your photography business.
For many photographers, Facebook ads are a better investment than Google Ads or other SEO strategies for one simple reason: Facebook Ads can reach people that don’t even realize they need your business!
Creating powerful and targeted ad copy, you can reach moms-to-be to suggest that they really need a maternity photo session or reach out to a woman who never realized how important a boudoir session could be in her life.
In order to do that, however, you need to create fantastic Facebook Ads that will appeal to your readers.
Looking for Google Adwords Guide for photographers??
Step One: Create Your Facebook Business Page
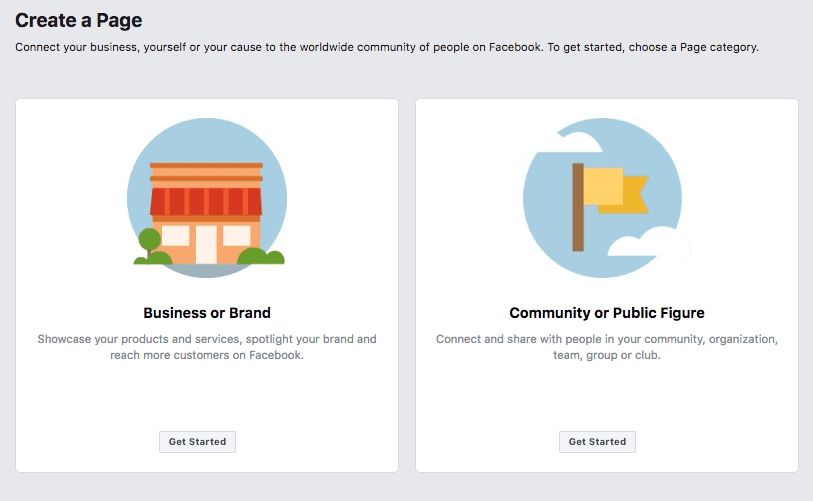
Before you can put together a stunning Facebook Ad, you need a Facebook Business Page! You can’t create ads or boost posts from your personal page, so if you’ve been promoting your business from your personal page, it’s time to create that business page. Fill out all the information required for your business page—but pay particular attention to:
Your “about me” section. This is your chance to tell potential clients all about your photography business—and you want to be sure you provide them with all of the relevant information! Tell them what types of pictures you take, give them a look at your style, and tell them what they can expect when they work with you.
Your profile photo. When potential clients approach your page, they want to get a look at who you are. Using a profile picture with your face will help clients connect with you more effectively and often increase the likelihood that they’ll choose you over your competitors.
Your audience. Who do you want to see information about your business? The more information you provide, the better you can customize who gets information about your Facebook page.
Got your Facebook Business Page? Great! Now, it’s time to get started launching that ad.
Step Two: Install the Facebook Pixel
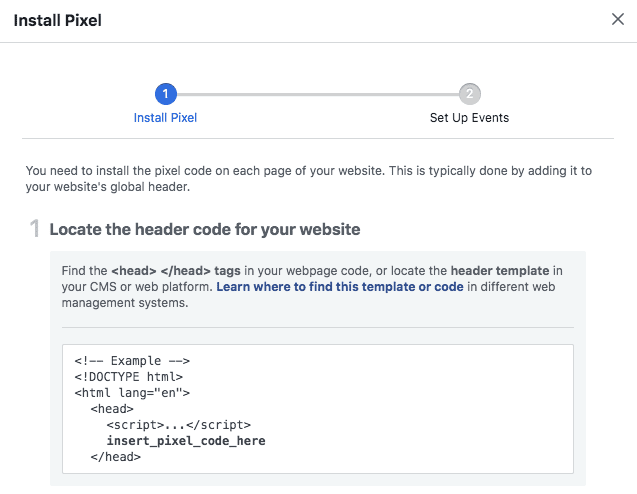
Facebook Pixel is a small piece of code that you add to your website. It will provide you with a ton of vital information about Facebook users who click on your ad. Not only will it offer more information about the success of your ad, it will let you see what customers are genuinely interested in the content you’re providing—and the better you understand your audience, the better you can customize future advertisements to reach exactly your audience.
Step Three: Start with Your Facebook Campaigns
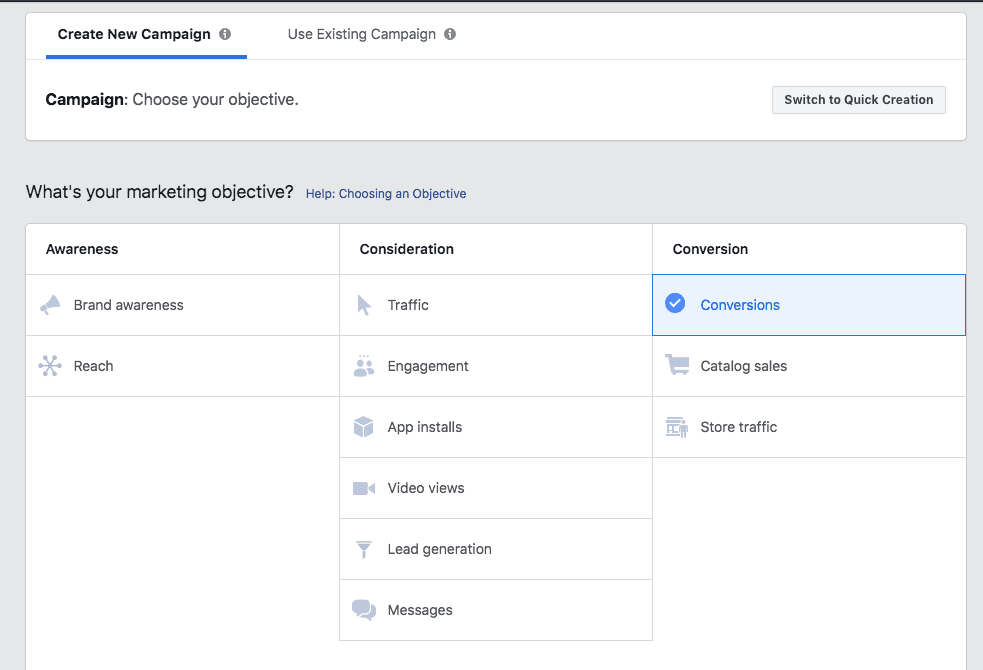
Your campaign is a simple one-screen setup: it allows you to choose your intended objective for your ad. What are you attempting to accomplish? You might, for example, want to expand brand awareness or increase your reach. You might want to see increased traffic, more engagement, or increased lead generation. The “campaign” tab will allow you to take a more solid look at exactly what you want to accomplish with your advertising efforts. Sometimes, this will help you identify your own goals and define them more clearly. What’s your goal?
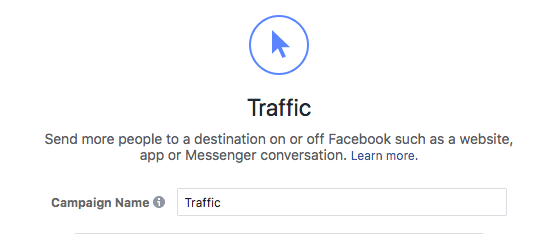
Traffic: If your goal is traffic, you may want to send more people to a specific page. This could be both on Facebook—your page, for example—and off Facebook. You might identify your website in general, or you might want to take potential clients to a specific area of your website.
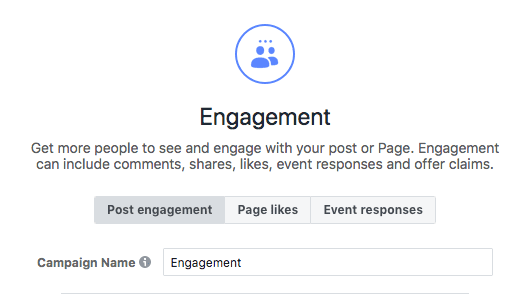
Engagement: How many people are actually engaging with your post? This isn’t just the number of people who see it, it’s the number of people who actively respond to what you have to say. You might measure post engagement through likes and shares. If customers respond to an event or claim an offer, this also counts as engagement.
Many people fall into the trap of believing that engagement is the most important thing for their business. They want customers to come visit their pages—and it’s exciting to feel like your Facebook page is the place to be! Engagement, however, doesn’t always lead to sales—so make sure you know what you really want to accomplish with your ads.
Awareness: Brand awareness helps spread the word about your photography business. People can’t hire you if they don’t know you’re out there! Awareness calculates the extent of your reach and how your ad can help make people more aware of your business. Lead generation: Are you putting together more sales leads thanks to your ad? When you put together an ad with the intent of generating leads, you may collect email addresses, phone numbers, or other contact information from interested leads who want to learn more about your photography business.

Step Four: Put Together Your Facebook Ad Sets

You know what you want to accomplish from your campaign. Now, put together your ad set. This section of Facebook Ads lets you choose your audience, how your ad will be delivered, and where it can be seen.
As a photographer, there are several areas you may want to focus on as you define your audience. Facebook Ads allow one of the most specific levels of targeting you’ll get on any platform—and that has a number of advantages. It also means, however, that you may get bogged down in all the options! Make sure you consider these factors as you create your ad.
Location: As a photographer, chances are, you’re not jetting across the country to take care of maternity pictures or to shoot a wedding. You’re probably located within a specific geographic area—and that means you need to offer clear geographic parameters. Target your ads specifically to people within your city or the general geographic area that you cover as a photographer. This will help prevent false leads and people who aren’t really interested in your business.
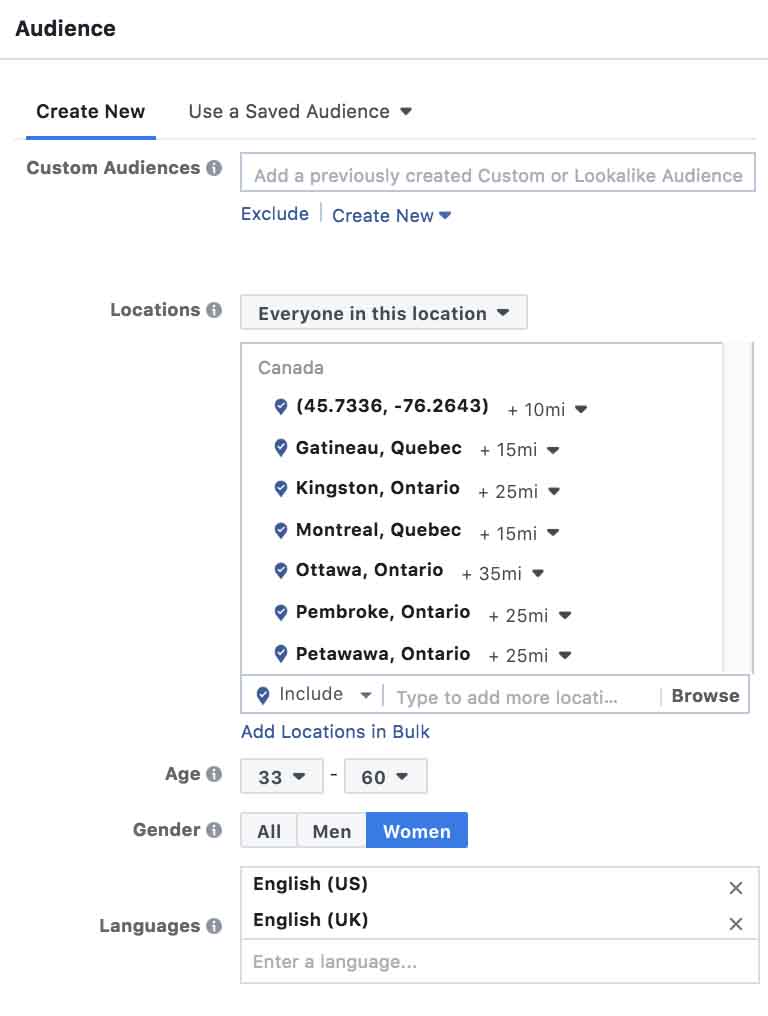
Gender and Age: In some cases, gender doesn’t matter. In others, it can make a big difference in your ad’s performance. For example, if you do boudoir photography, it might pan out better if focus on an older women demographic for a specific ad set. You’ll see why when we go over creative content!
Detailed targeting: This portion of Facebook Ads is where research makes a substantial difference in how well your ad performs! Detailed targeting is one of the most effective ways to ensure that your ad shows up in front of exactly the right audience. It also allows you to include or exclude people based on highly specific targeting. Consider the following example:
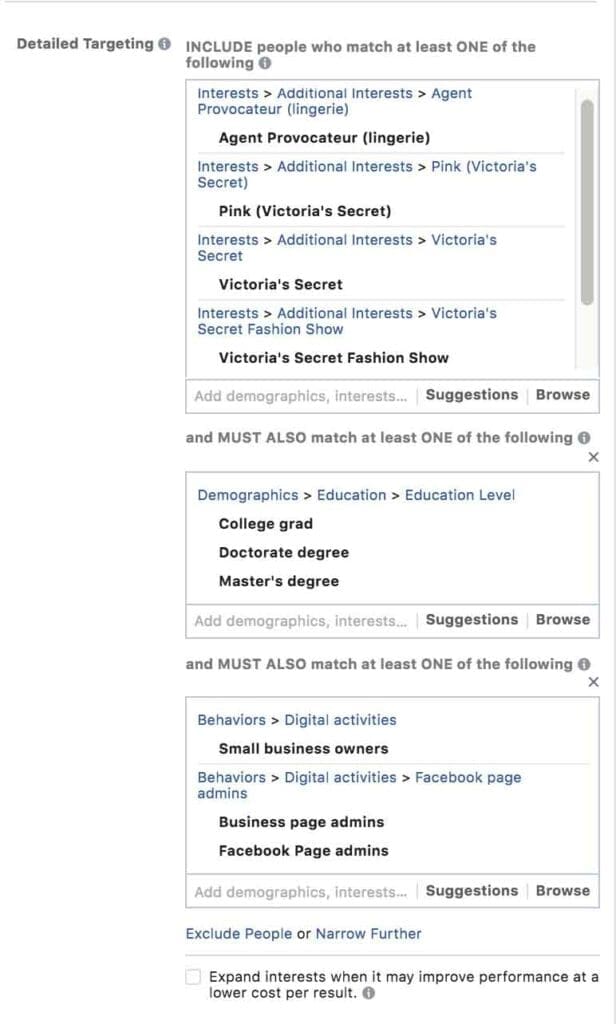
The audience above was designed for women who would be interested in a specialized boudoir session involving large “angel wings”. Both the interests and the demographics were carefully considered to ensure the women shown these ads would be likely to be interested enough to click and submit a contact form once on the site.
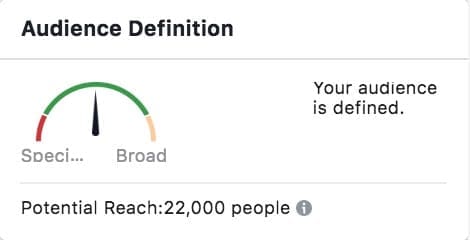
It’s also important to consider Audience Definition when adding potential behaviors, demographics, and interests within the Detailed Targeting section.
You want to ensure the size of your audience is optimized to deliver a steady flow of inquires. The more specific or “detailed” your audience, the smaller the size.
More Examples to Consider:
- You’re a newborn photographer who wants to target women who are still pregnant. In order to reach your target audience, you might want to target women who have an interest in baby brands, pages, and other relevant content.
- As a wedding photographer, you might be interested in targeting newly-engaged couples. Consider high wedding dress brands, popular venues, and other relevant wedding items that would put your ad in front of an eager bride or groom-to-be.
- As a headshot photographer, you have specific experience with people who work in certain industries—or you might want to design different ads based on the industry you want to target. To reach a corporate office, you would probably target individuals with a degree, higher household income, and business related interests.
Before you create your ad set, carefully consider who, exactly, you want to see your advertisement. Go back to your buyer personas and carefully consider your target demographic. While you may find that expanding your target helps you attract a wider range of potential clients, a highly specific target can help increase the return on your advertising investment.
You can also use Ad Set to choose where your ad appears on the page. In some cases, it will appear in the sidebar; in others, it will appear directly on the page. You can select your ad placement or choose what you want based on your cost.
Finally, Ad Set is where you’ll choose your budget and your campaign. Consider how much you have to spend and how long you want it to run, select your settings, and you’re good to go!
Step Five: Design Your Facebook Ad
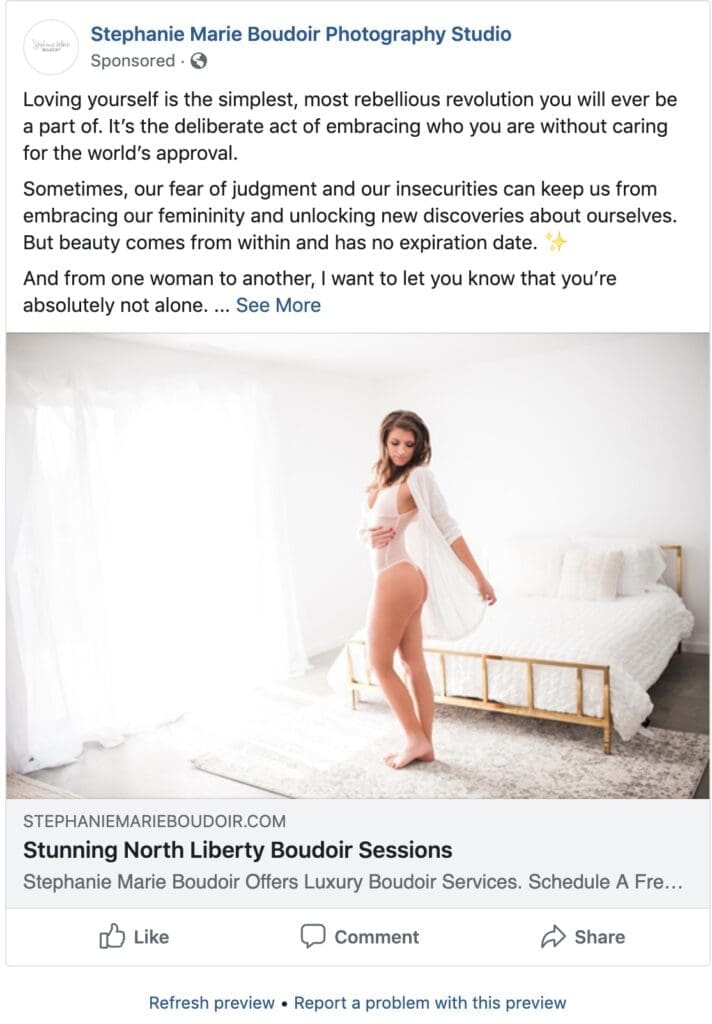
Now it’s time for the creative part! As you design your ad, you’ll get to bring your creative skills into play. Settle the details: how do you want to represent your business in your ad? Have you connected your Facebook and Instagram accounts so that ad viewers can easily see all the relevant information about your photography business?
On to the ad!
Choose your ad format. Do you want a single picture ad, or a carousel ad? Using a carousel ad may allow you to include more examples of your work, which can help appeal to a wider range of potential clients. At the same time, you may find that you prefer a single frame to focus your impact.
Select an image, video, or slideshow that represents your best work. Make sure it’s in keeping with the theme of your ad. Try for an image that will tug at the heartstrings of potential clients. If, for example, you’re a wedding photographer, you might want to include one of your best pictures of a bride and groom together.
Make sure that you have permission from your clients to use their images in your advertisements, especially if you’re working with babies or children! Some people are more cautious than others about how their children are displayed, and you don’t want a fantastic ad campaign to turn sour because you didn’t have permission to use a specific image.
Include text that lets viewers know what you’re advertising. Keep your message short, but make it compelling. Add a little something about what makes your business unique.
Step Six: Test, Test, Test
Once your ad is created and you’ve started your campaign, start testing! Facebook Ads allows you to instantly test six different images. This simple step will allow you to get a better idea of which ads your customers are most likely to respond to—not to mention letting you see your ads in action before you click that “confirm” button.

Launching your ad campaign, however, doesn’t mean your monitoring and testing is over.
Where are you sending your viewers? Do you have a landing page that is set up to help convert viewers? You need a landing page that is as consistent with your ad as possible. You don’t want an interruption in your visitors’ thought patterns! Rather, you want them to jump right in and check out your business—and potentially even fill out more information.
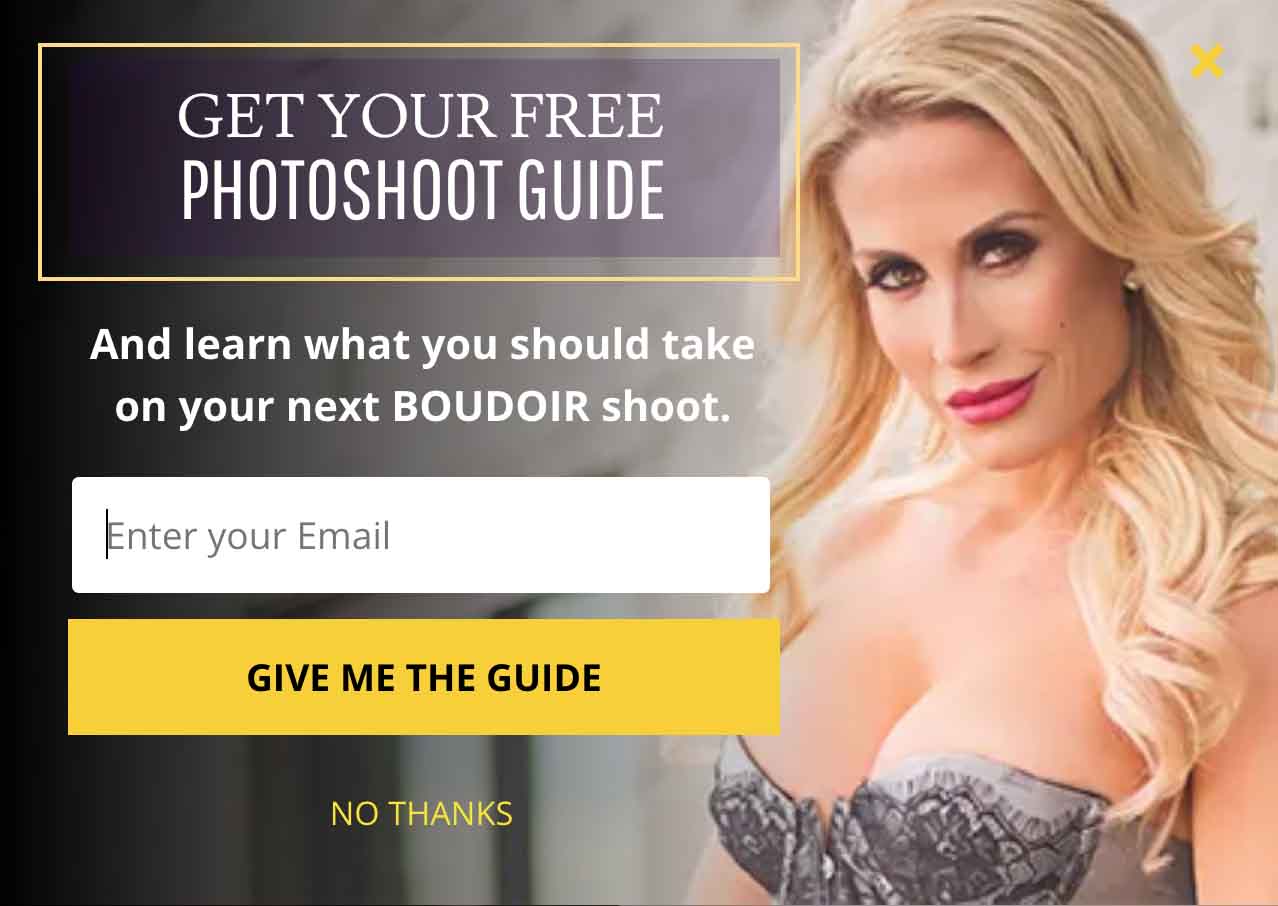
On your landing page, include lead forms and exit pop-ups. This is your opportunity to connect with potential clients. They thought enough of you to click on the ad—now, make sure they don’t leave without providing you with their contact information.
How many visitors are actually converting? When people visit your website from your Facebook Ad, do they find what they expected from your ad? Do they proceed from there to book a session or get in closer contact with you, or do they tend to bounce once they reach your website?
Does one ad perform better than another? Take a look at your high-performing ads on a regular basis. Consider their placement on the page, their content, and the images you chose to use. What’s different about those ads? Shift the focus of your funding to high-performing ads when possible.
Does changing your targeting change the impact of your ad? If you’ve used vague targeting in an effort to throw a wide net, consider tightening up your targeting if you have a poor response to your advertisements. On the other hand, if you have an extremely tight target and are seeing little response, consider broadening your targeting to include a wider range of potential clients. Monitor how your advertisements perform under both sets of targets, then adapt your future campaigns accordingly.
Each photographer’s target clientele is a little different and will respond and interact with your brand’s content differently . There is no exact template for the “perfect ad” that guarantees seamless results the moment you turn it on. But, as you test your ads and learn more about your audience, you’ll be able to create better targeted and more effective ads that’ll, in turn, help you scale your business
Use retargeting. One of the powerful tools Facebook Ads offers for photographers is the ability to retarget people who have interacted with your brand in the past. This includes your Facebook, Instagram, and Website traffic.
What does this mean?
Someone who has shown interest in your brand in the past is more likely to convert than someone who is seeing your promotional content for the first time. For instance, say someone sees your ad for a “FREE Photoshoot Guide” and ends up submitting their information on your page in exchange for this “freebie.” If you’re using Facebook Pixel correctly, you’ll be sure to pop up in their feed once again as well as their email inbox if you decided to take advantage of this opportunity to grow your mailing list.
Retargeting allows you to reconnect with a potential customer, which in turn will increase their recognition of your personal brand and increase the odds that you’ll make a sale.
You need great photography ads for your business—and it’s time to get started! You can dive in today with a fairly minimal budget, allowing you to expand your reach and increase your business.
Make sure you also consider Google Adwords for Photographers. They’re exceptionally good for time-based services like wedding photography, engagement photography, maternity, senior, and newborn photography.

Humberto Garcia is the world’s leading photography business growth expert.
Founder of Photography to Profits and high-performance coach to multiple 6-figure photography businesses. Humberto coaches photographers from his special operations military experience and photography sales and marketing experience. After years of high performance in Marine Special Operations and building businesses, he knows what works.

